


Widgets are the unsung heroes of website design. They add functionality and interactivity to web pages, making them more engaging and user-friendly. One such widget that's making waves in the market is FacePop! With its customizable design, tailored Call-To-Action modes, and intuitive funneling, FacePop offers an excellent opportunity to improve customer engagement. In this blog, we'll explore the various features and functionalities of FacePop that make it an invaluable tool in the hands of businesses worldwide.
An Overview of FacePop
At its core, FacePop is a customizable video widget designed explicitly to enhance customer interaction and engagement. What sets it apart, however, is the host of carefully thought-out features it offers. These include tailored Call-To-Action modes for optimized engagement and conversion, seamless funneling, and an integrated input field for easy email collection. Additionally, it offers an integrated calendar booking feature, extensive customization options, and user targeting based on specific criteria.
The beauty of FacePop lies in its simplicity. Using this widget, businesses can create an uninterrupted customer journey that drives conversions and enhances customer engagement. Here's how it works:
Step 1: Create Your Widget
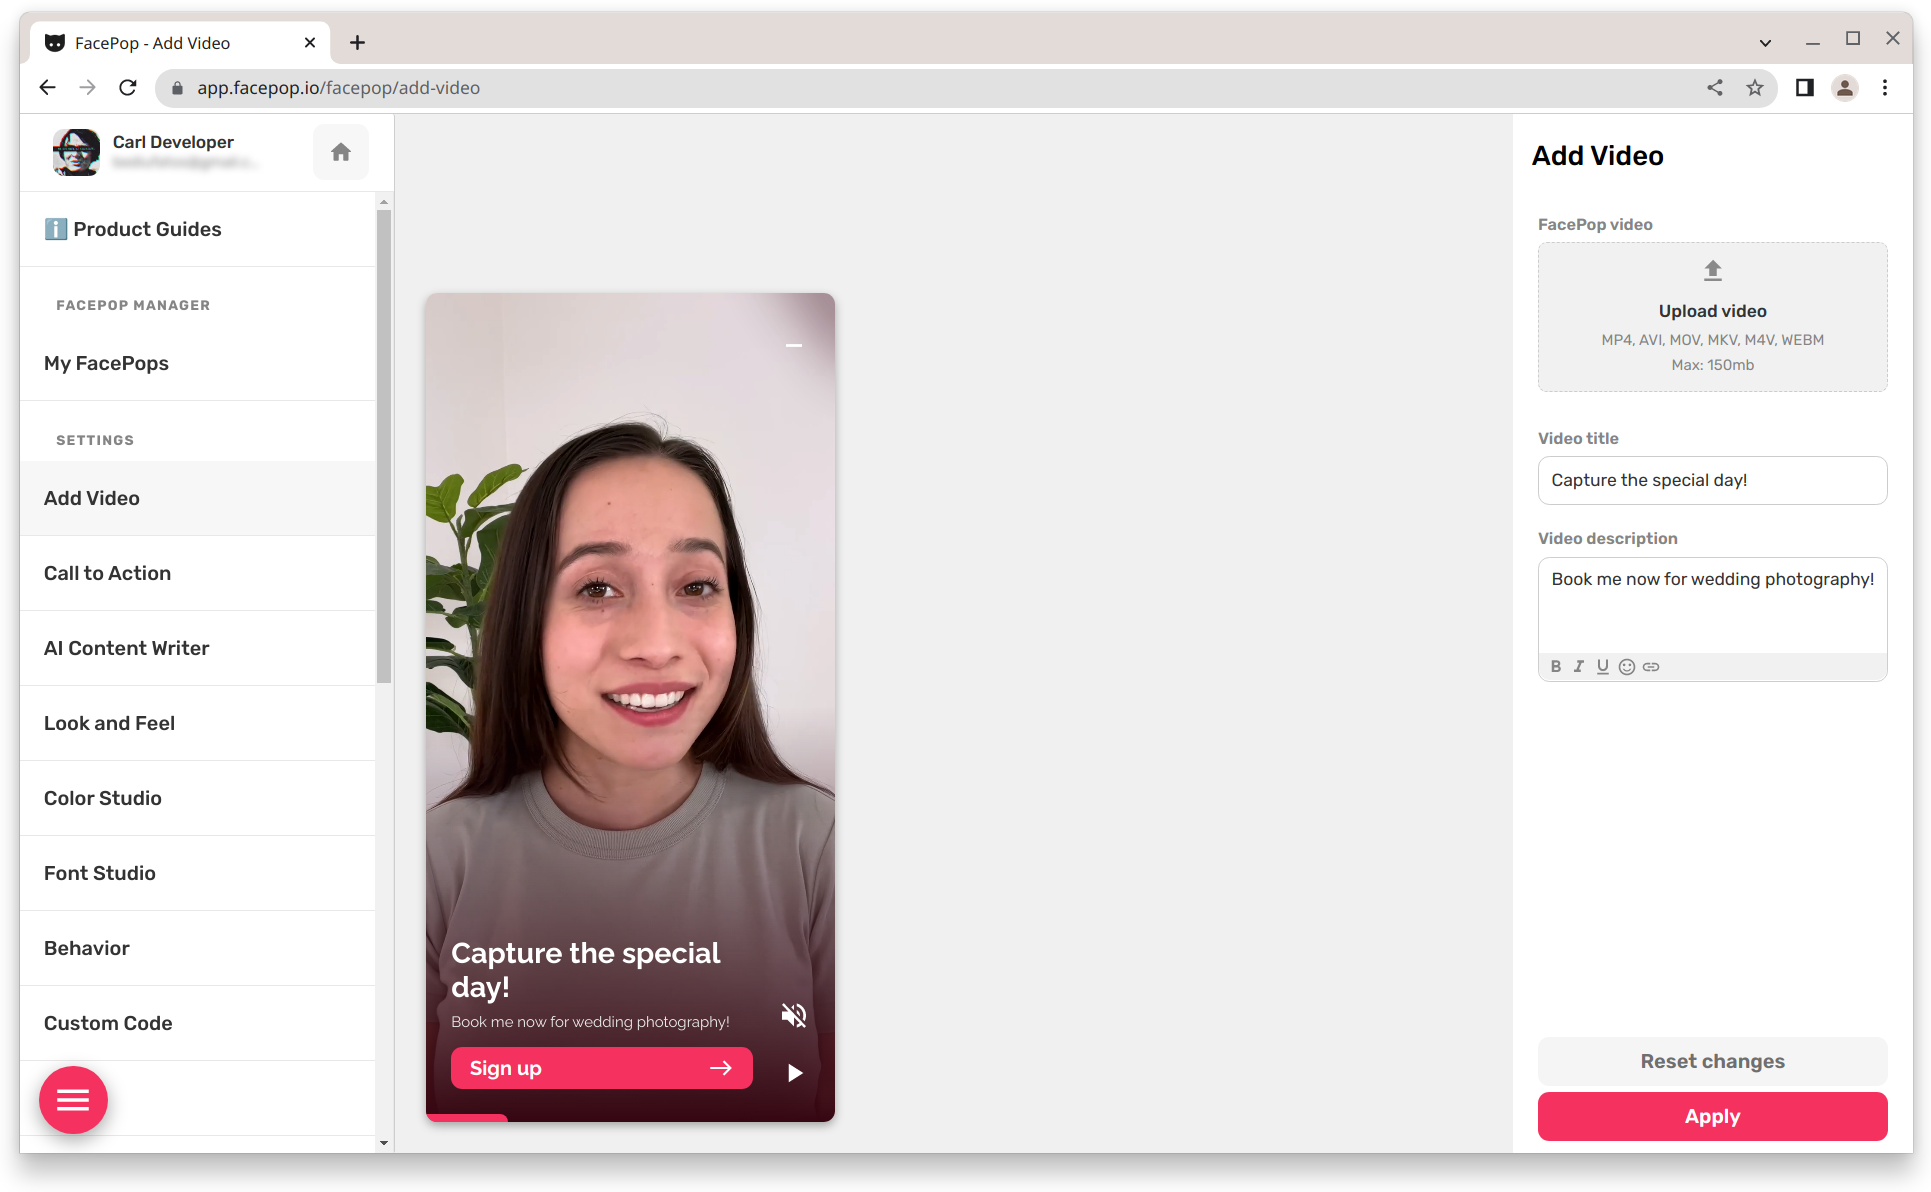
To begin using FacePop, you'll need to create your widget. The process is relatively straightforward and can be done within the platform itself. Upon logging in, you'll be directed to your dashboard, where you can create your new widget by clicking on the 'Create' button. Here, you can upload your video, add a title and description, and customize the look and feel of the widget.
Step 2: Choose Your Call-To-Action Mode
Once you've created your widget, you'll need to choose your Call-To-Action mode. FacePop offers several options for you to choose from, each one designed to meet a specific business need. These include:
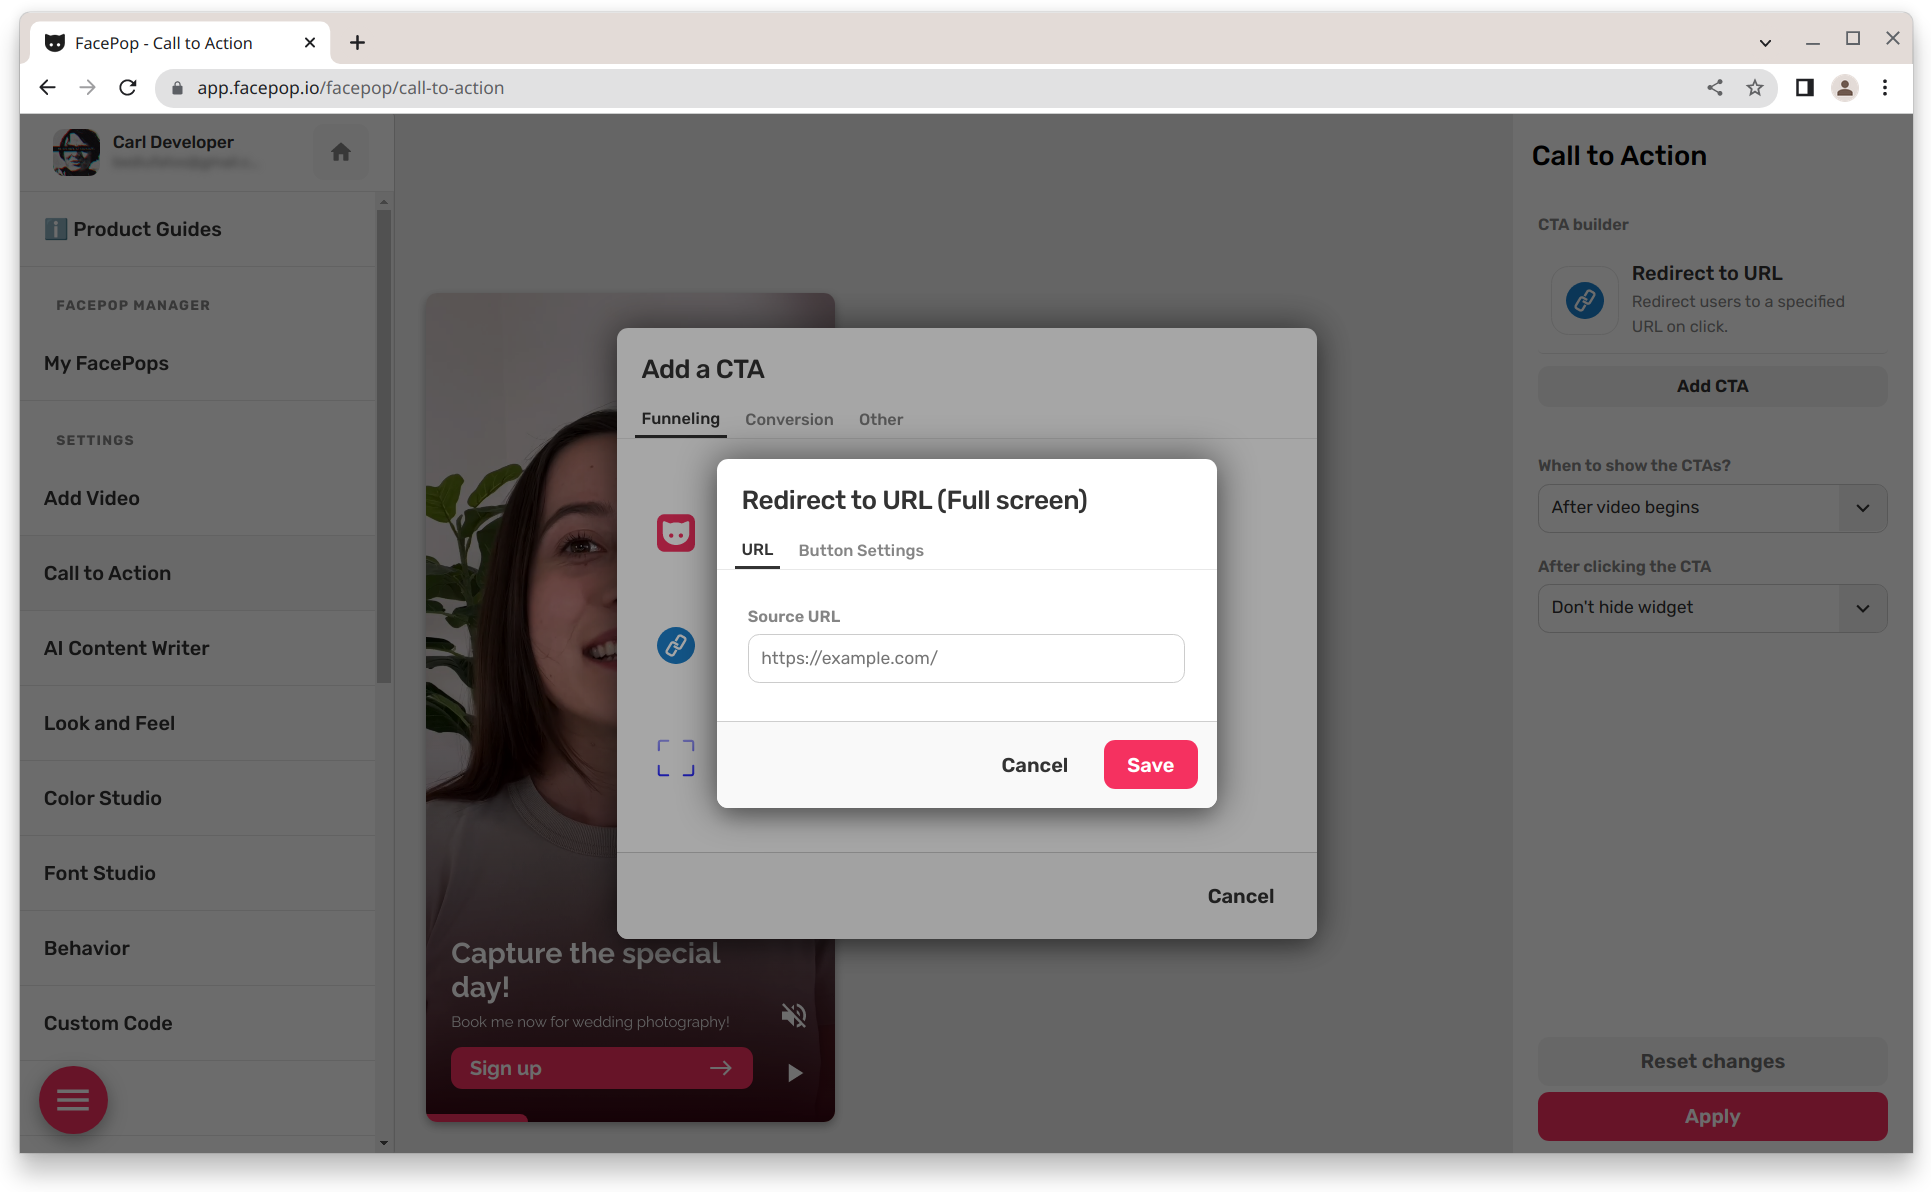
Funneling Call-To-Action Mode
- Button to Connect to Another FacePop
- Button to Redirect to URL on Click
- Button to Open URL in Full-Screen Inside the Widget as an iFrame

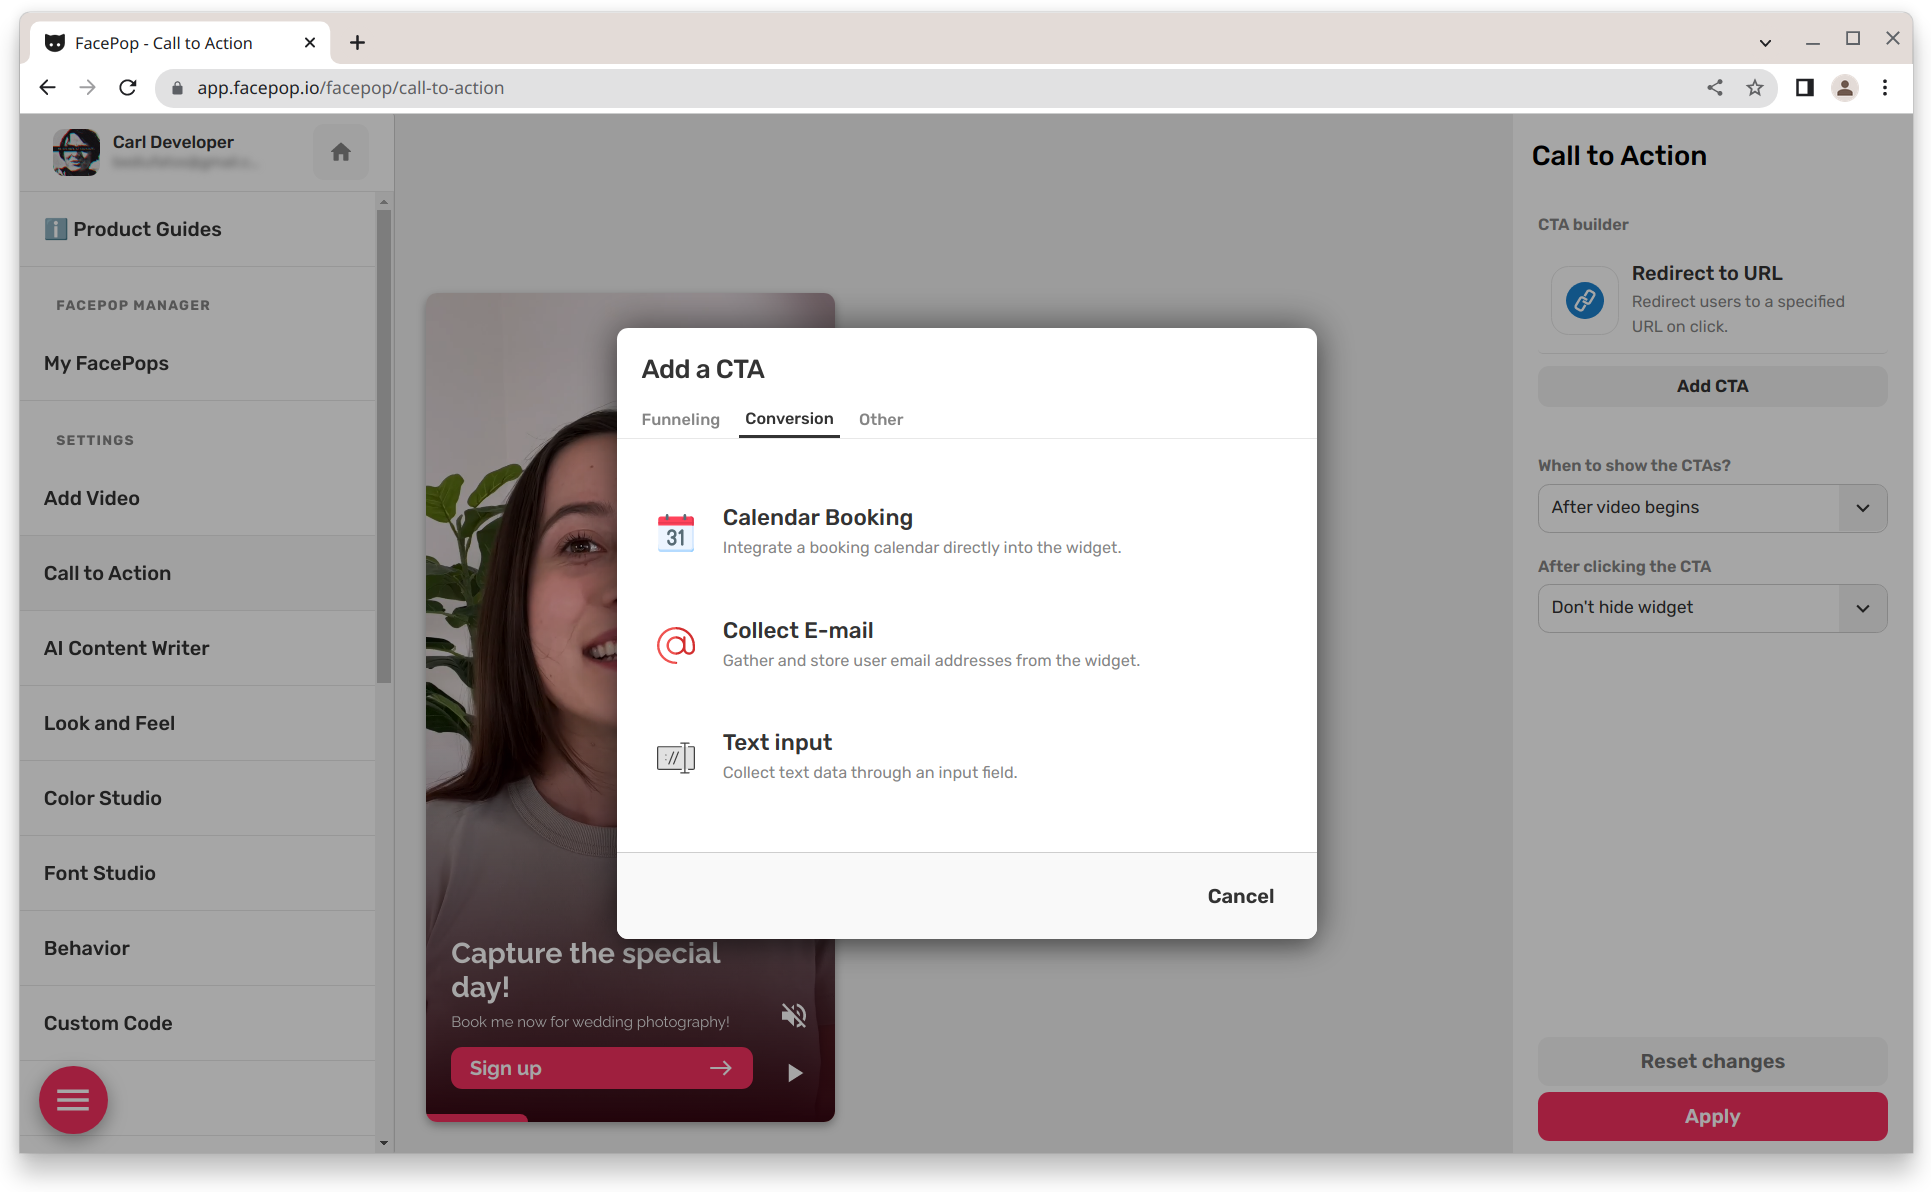
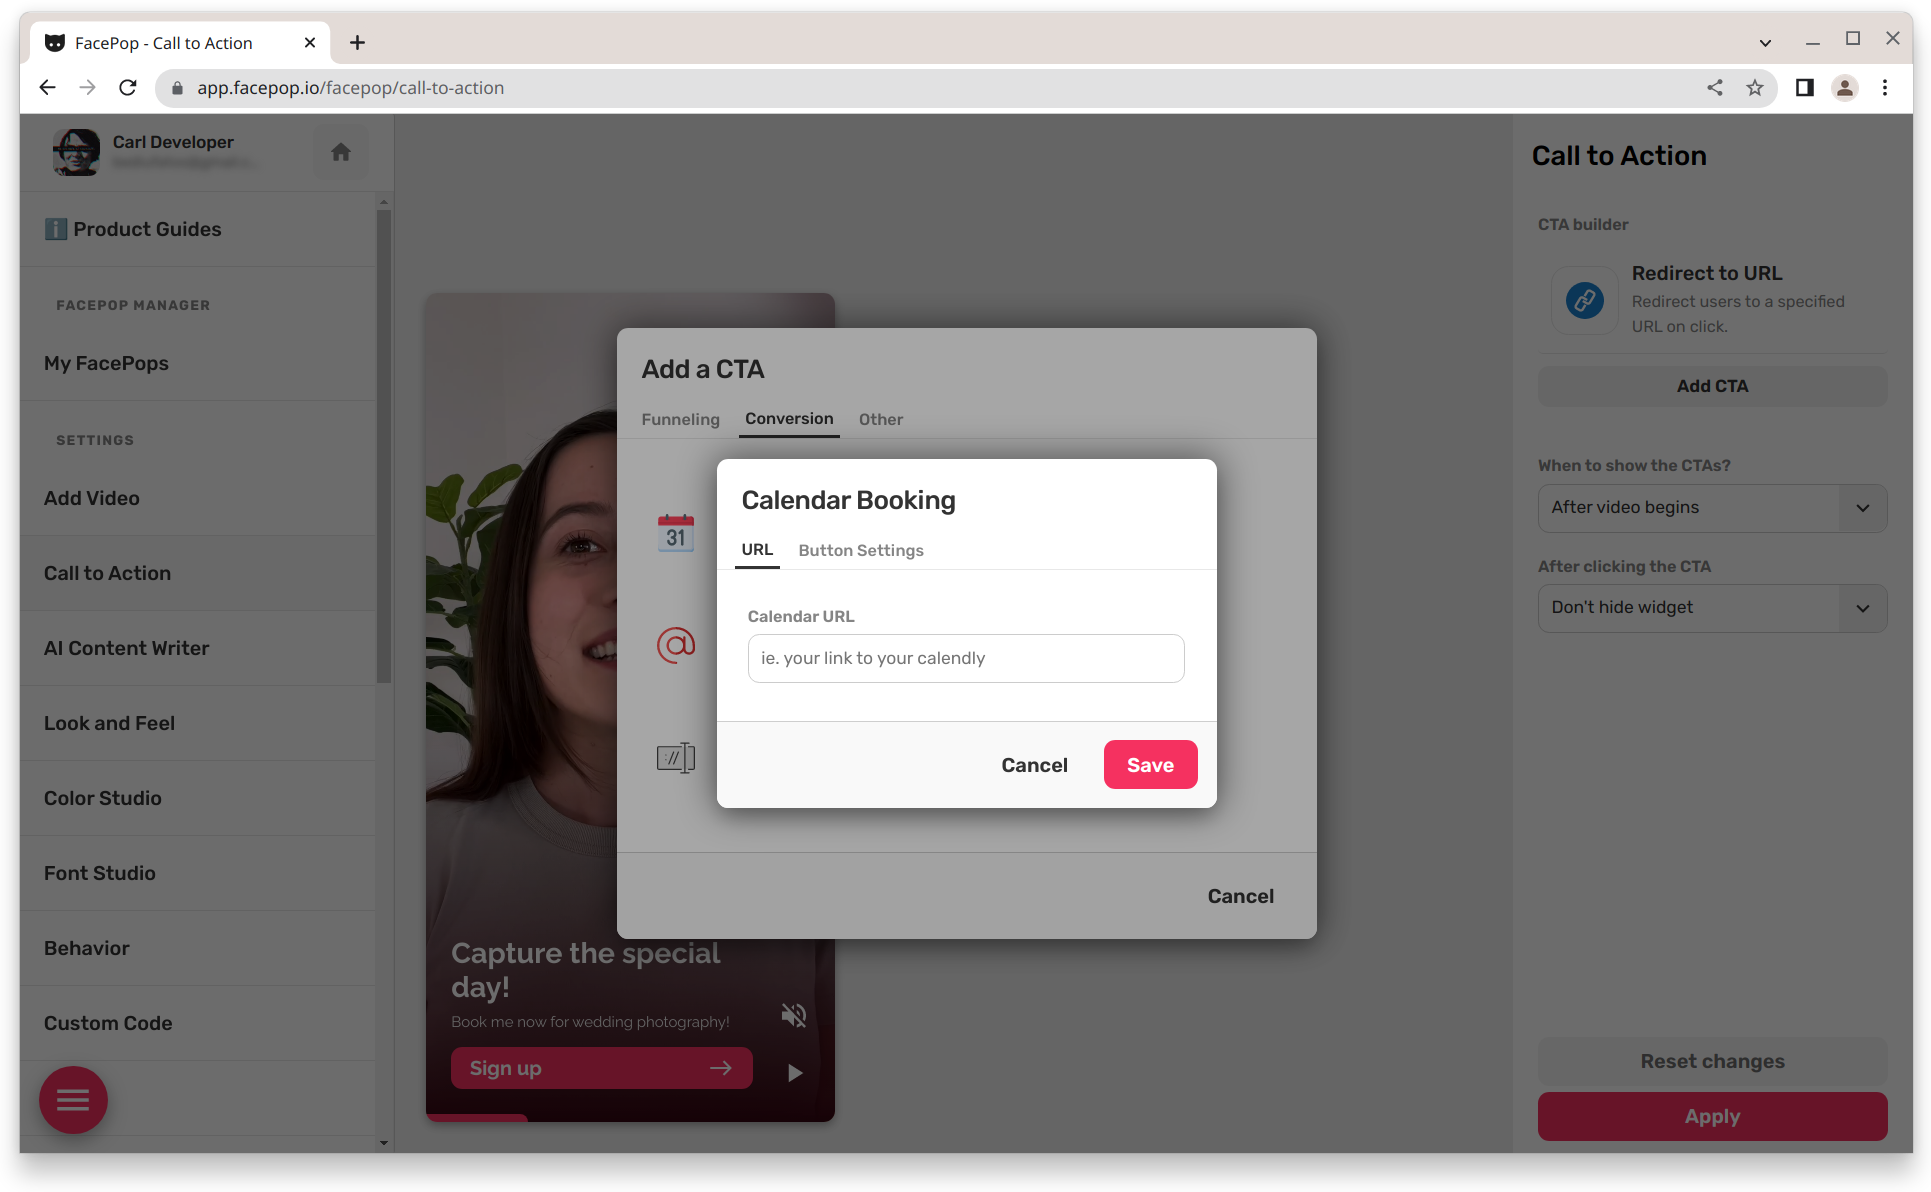
Conversion Call-To-Action Mode
- Button to Open Calendar for Booking
- Button to Collect E-mail Addresses
- Text Input Field Used for Capturing Data and Connecting with Buttons
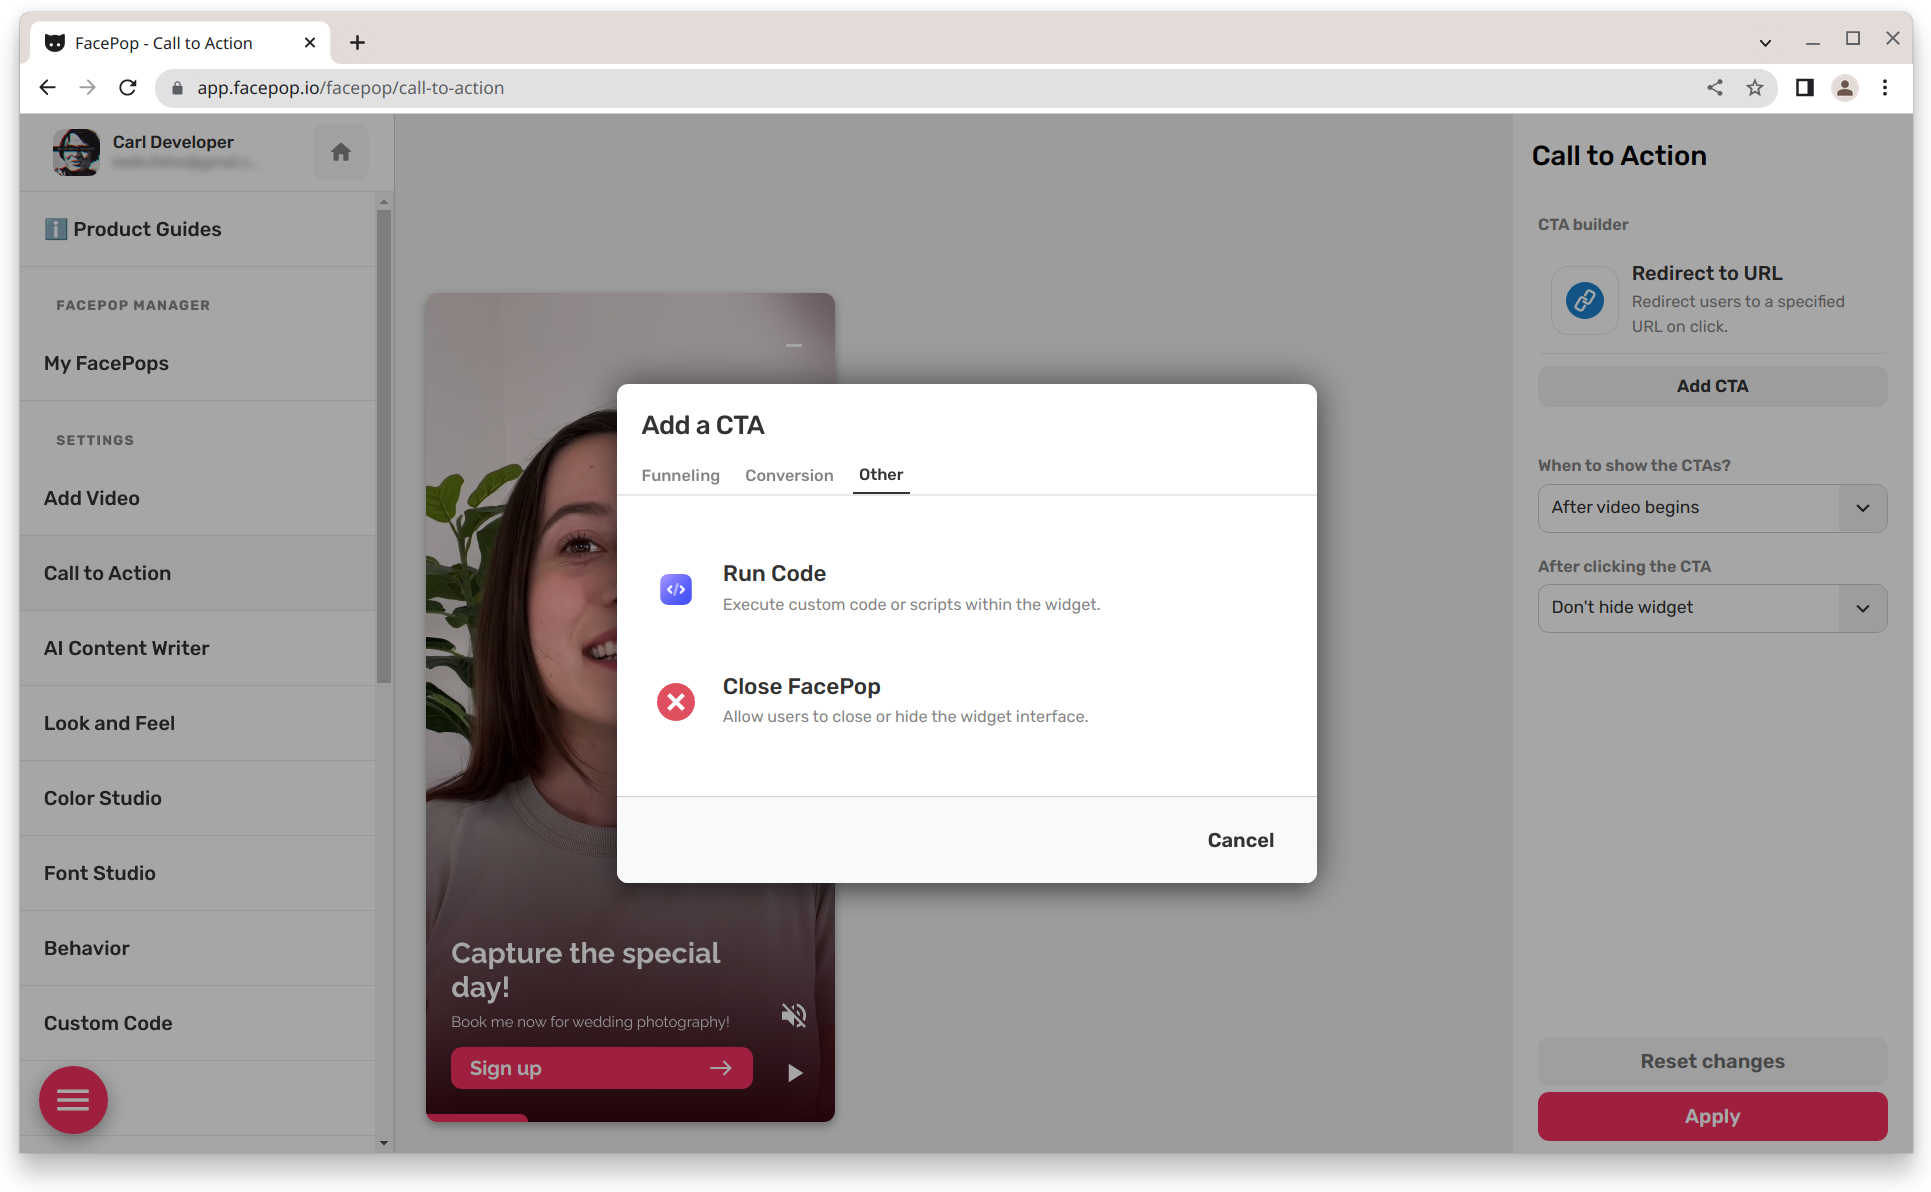
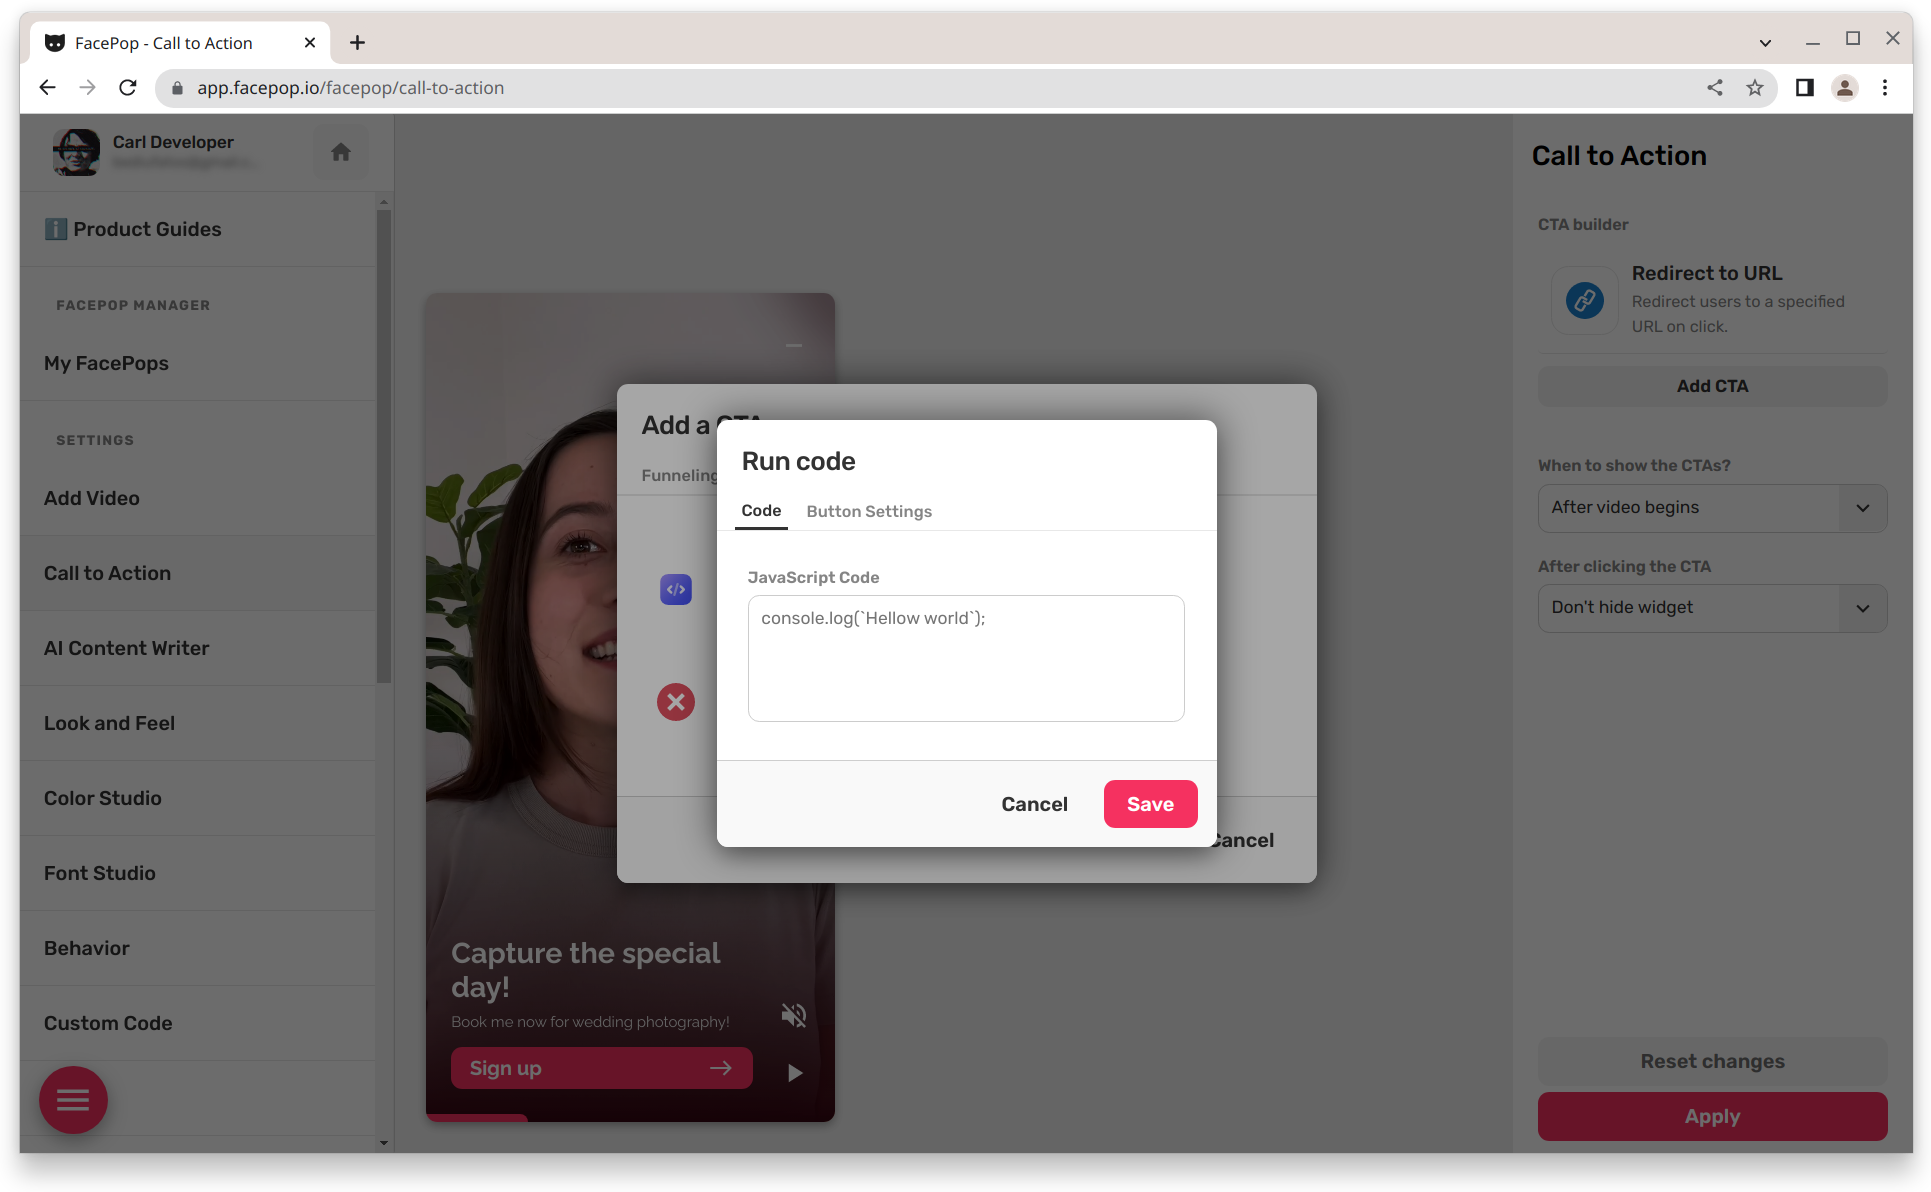
Other Call-To-Action Modes
- Button to Run Code on Click
- Button to Close This FacePop Widget on Click
Each Call-To-Action mode is carefully designed to meet your business goals, whether you're looking to drive conversions, capture email addresses, or run custom code upon user interaction.
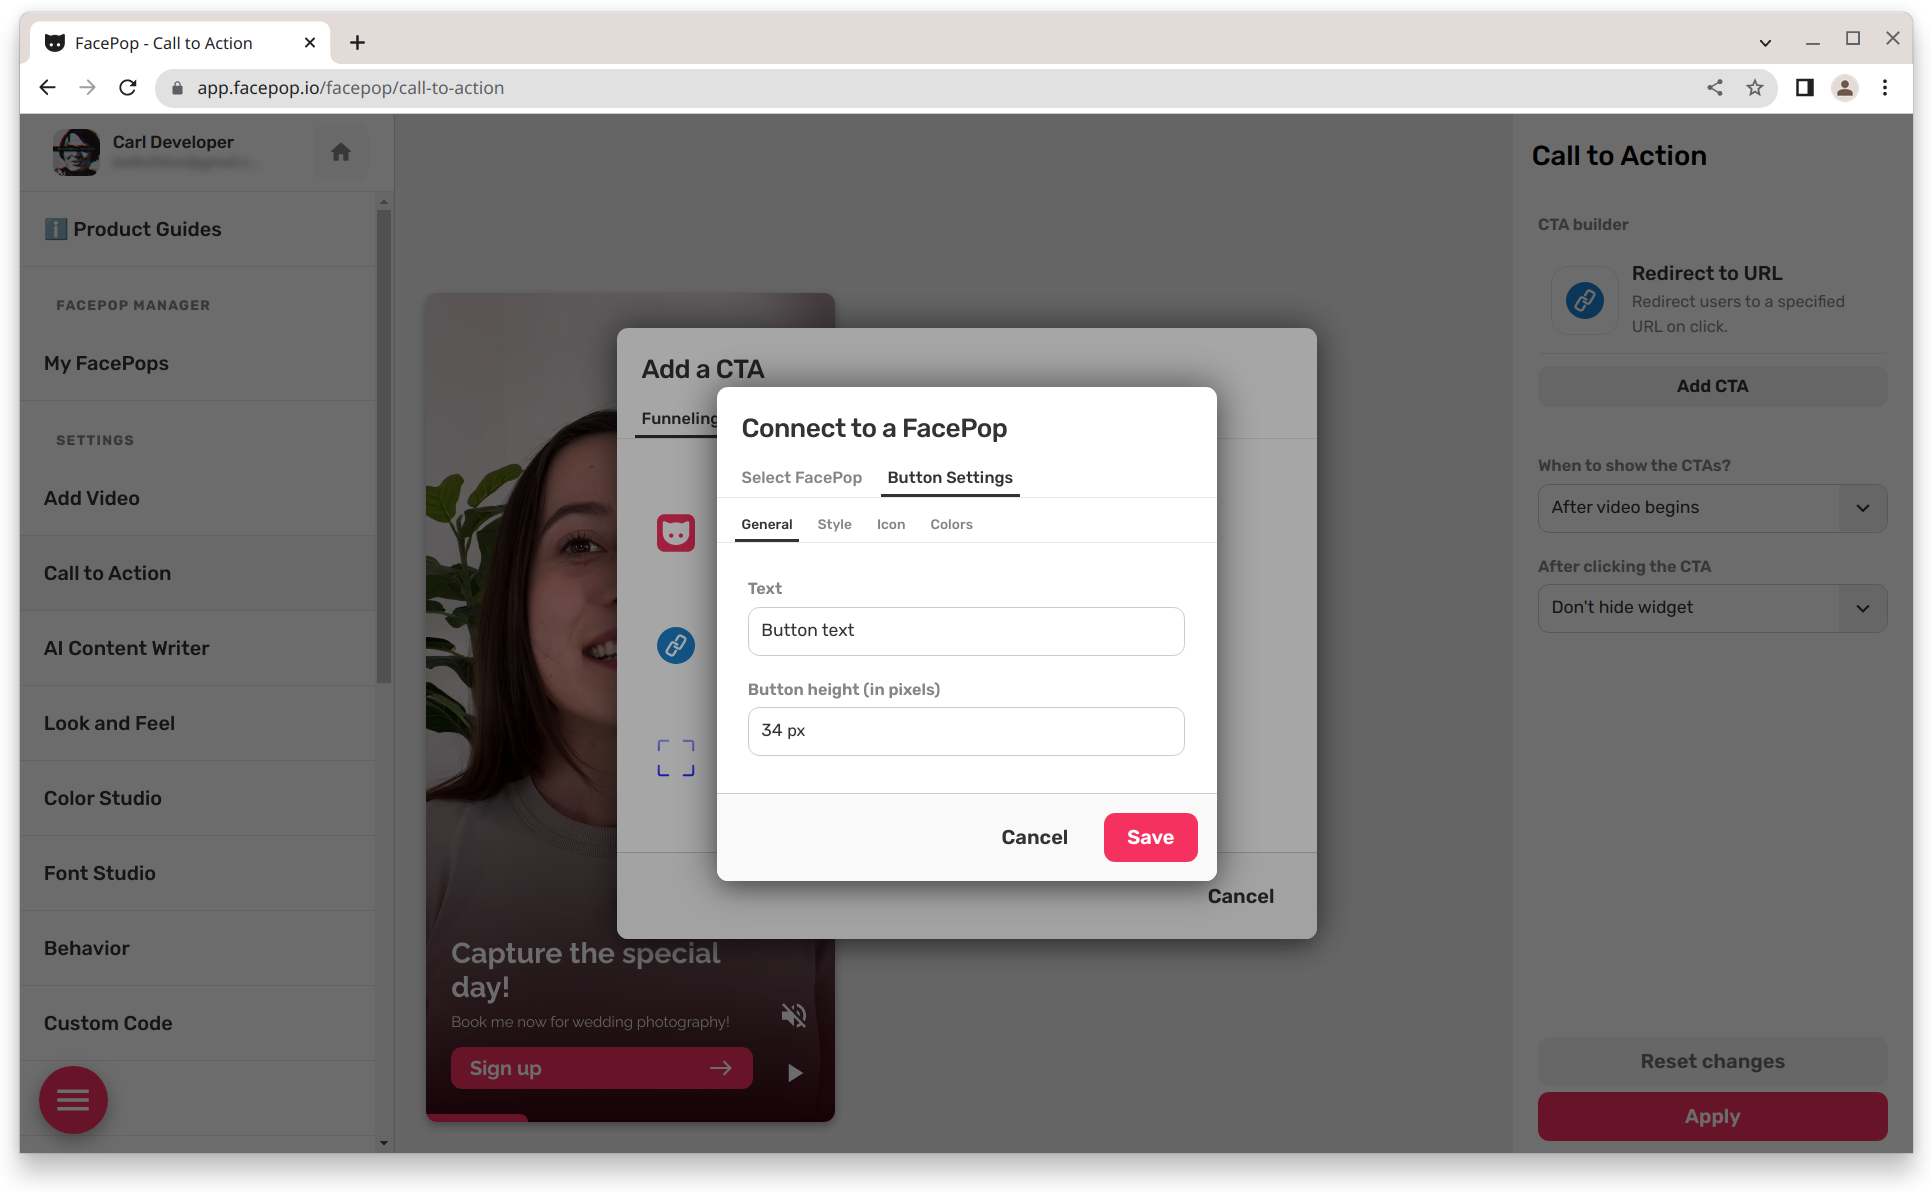
Step 3: Customize Your Call-To-Action Buttons
Once you've chosen your Call-To-Action mode, you can further customize your buttons to fit the look and feel of your website. Using the CTA button settings, you can edit button text, height, style, icons, and colors.
Moreover, you can add Functionality to each button. For example, in the case of a Redirect to URL mode, you can edit the URL and target i.e., open in new window, same window.

You can also set a URL to open in fullscreen inside the widget as an iframe.
For the calendar booking mode, you can insert the calendar and Calendly URL. You can also set up third-party calendars with a URL to book.
With FacePop's email collection integration feature, you can select the integration dropdown, edit the success message, and insert the URL of all third-party integrations.

You can also add a text input field, insert the input element ID, and adjust the type, placeholder, style, and color settings.

Finally, with the 'Run Code on Click' mode, you can input the desired code directly into the provided field.
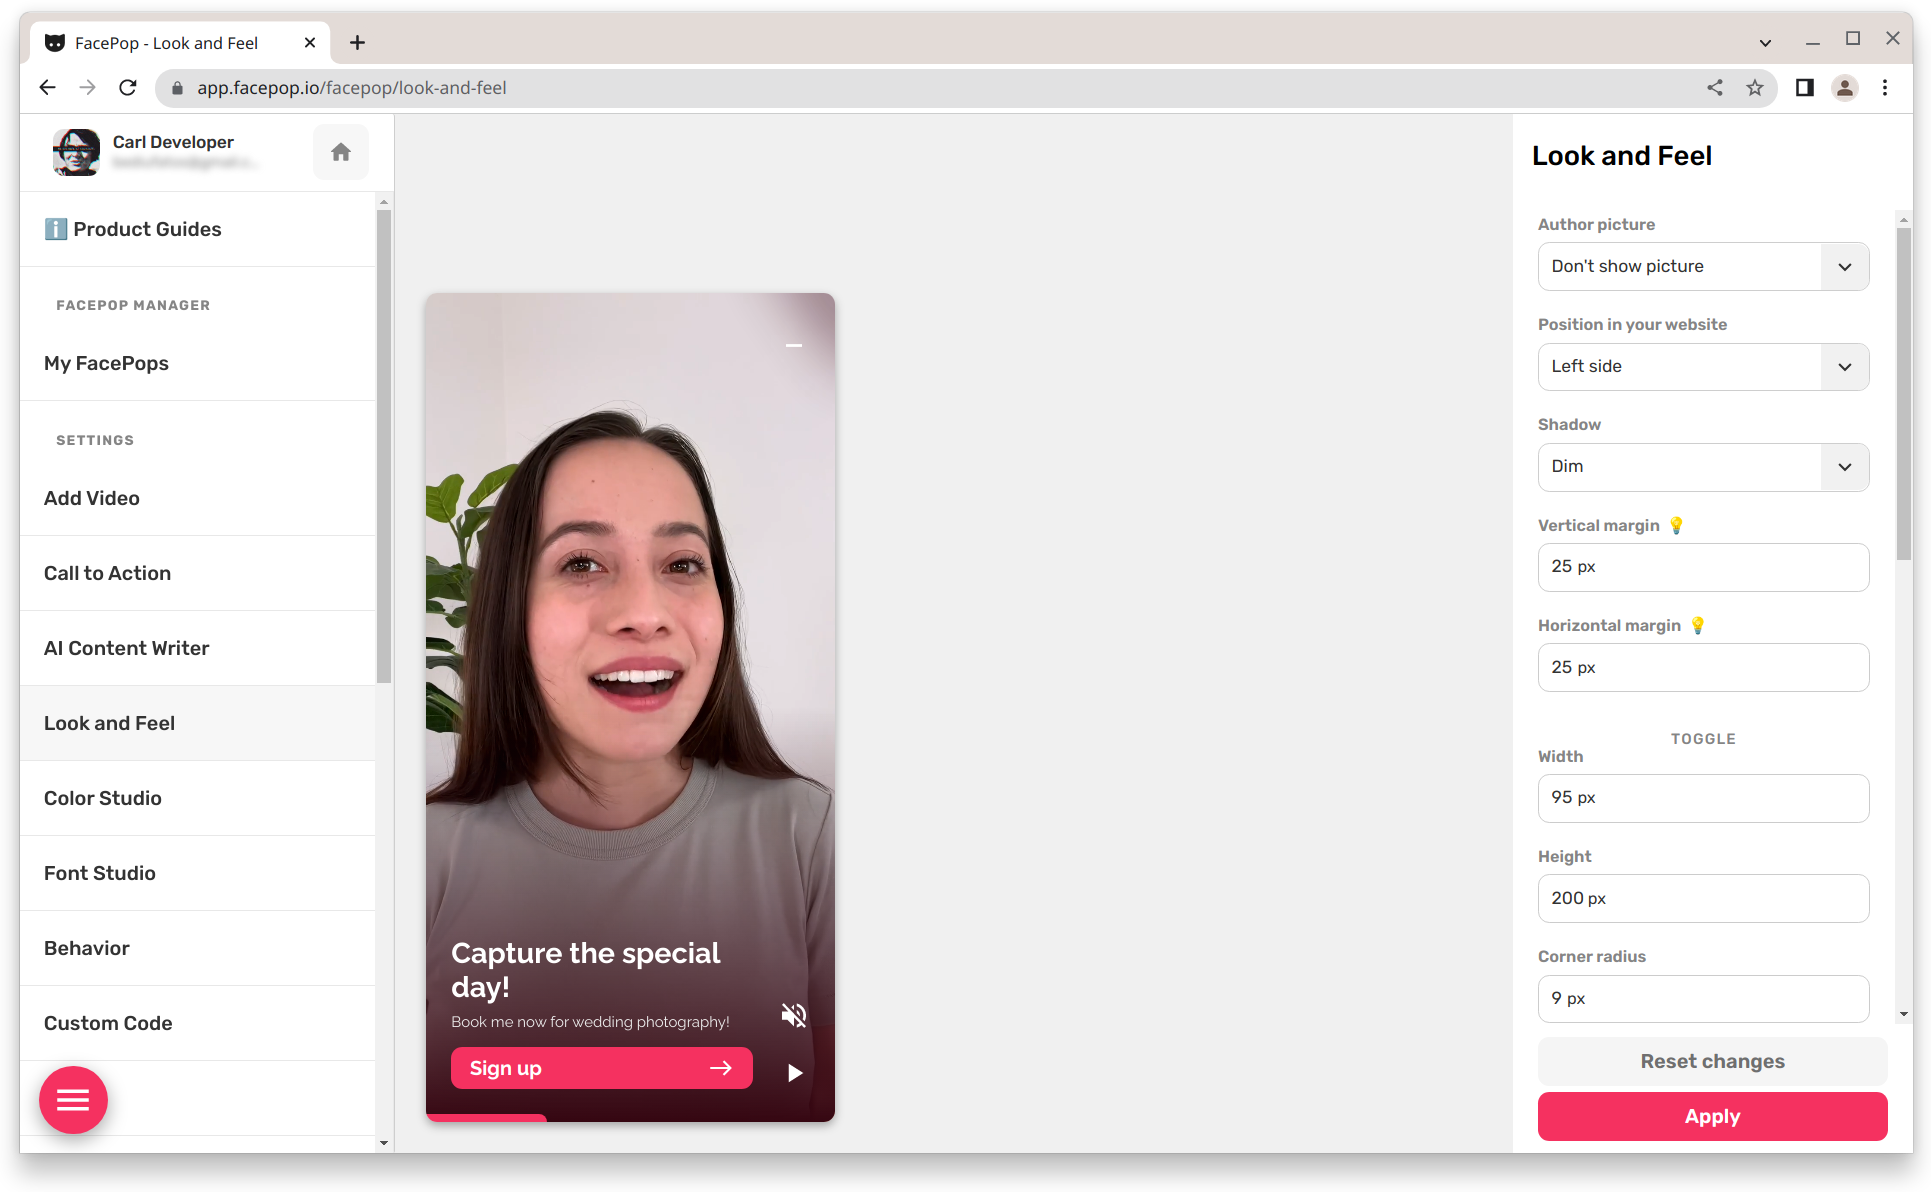
Step 4: Customize Look and Feel
Once you've created your Call-To-Action buttons, you can start customizing the look and feel of the widget. FacePop offers two types of customization options: visual and functional.
With visual customization, you can control the position of the widget on your website, adjust the margins and paddings, and even toggle certain features such as the player controls and close buttons.
Functional customization allows you to control how the widget behaves upon user interaction. For example, you can set the widget to be muted or unmuted by default, or control the position of the player.
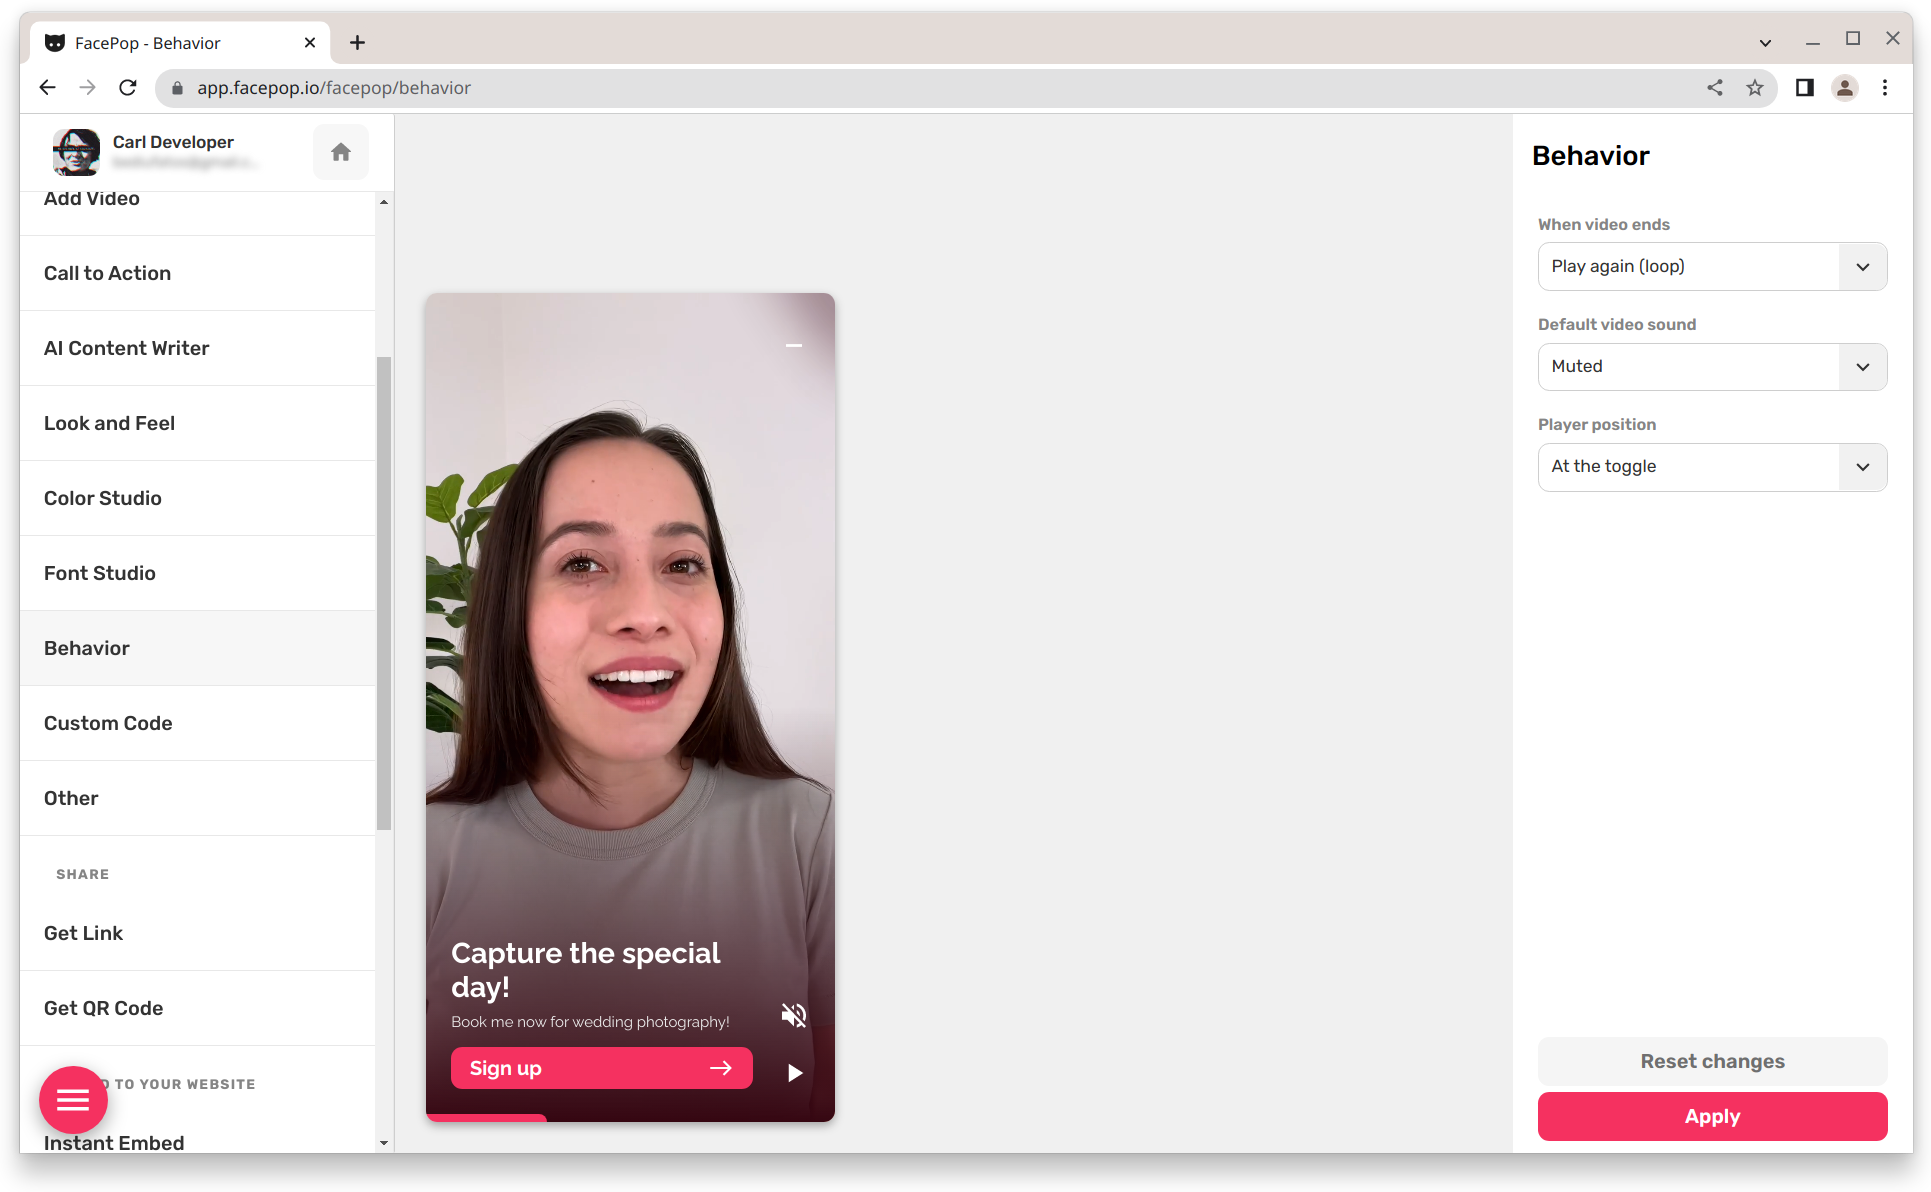
Step 5: Behavior Settings
FacePop's behavior settings allow you to control various aspects of the widget's functionality. By toggling certain options, you can control the default behavior, such as muting or unmuting the widget.
Step 6: Analytics and Performance
FacePop offers detailed analytics and reporting features that enable you to track user engagement, conversion rates, and other performance metrics.

Step 7: Integration with Other Tools
Finally, FacePop can be integrated with a range of other tools, including third-party CRM software, analytics tools, and more. This integration enables you to extend the functionality of the widget and leverage the power of other tools to enhance user engagement.
Conclusion
In conclusion, FacePop is a versatile, customizable widget that offers businesses a range of powerful features for enhancing user engagement and driving conversions. With its intuitive dashboard, powerful reporting tools, and seamless integration with other tools, it's an invaluable tool for any business looking to improve its website's user experience. So what are you waiting for? Sign up for FacePop today and start driving conversions through interactive customer engagement!
Learn more about customizing your widgets and exploring AI content writers for improved engagement to bring your website to life!